
I've noticed that the area on my desk where my mouse resides was slowly being worn away. For the better part of this weekend and week, I've been using the back side of a memo pad as my mouse pad. I like to make lists so it was a hassle to flip the memo pad over and over every time I needed to write something or use it as a pad for my mouse.
Since I am too lazy to leave the house to buy a mouse pad, I googled tutorials for DIY mouse pads and most of the results I found involved cork. I have cork but it was only a 4 inch wide strip. Not close to enough for my needs. Then, I stumbled on Sara vs. Sarah's tutorial which used 2 layers of craft foam. Bingo! I had a roll of hideous orange foam I had never used and tons of scrap fabric.
Thus, this was born.

Here's how my desk looked before I saved it from further erosion.

My supplies:

From left to right:
- Scrap fabric
- Sharp scissors
- Spray adhesive (I used Loctite brand)
- Craft foam (Got mine at Dollar Tree)
- Object with the shape you want your mousepad to be (I used a circular tin lid. You can use any shape. Yes. That is superglue STUCK to the lid. It makes a great handle.)
First, take your craft foam and roll it out, then fold it over so it is a little wider than the width of the object you are tracing.

Place your object on top and trace with a pen or Sharpie marker.

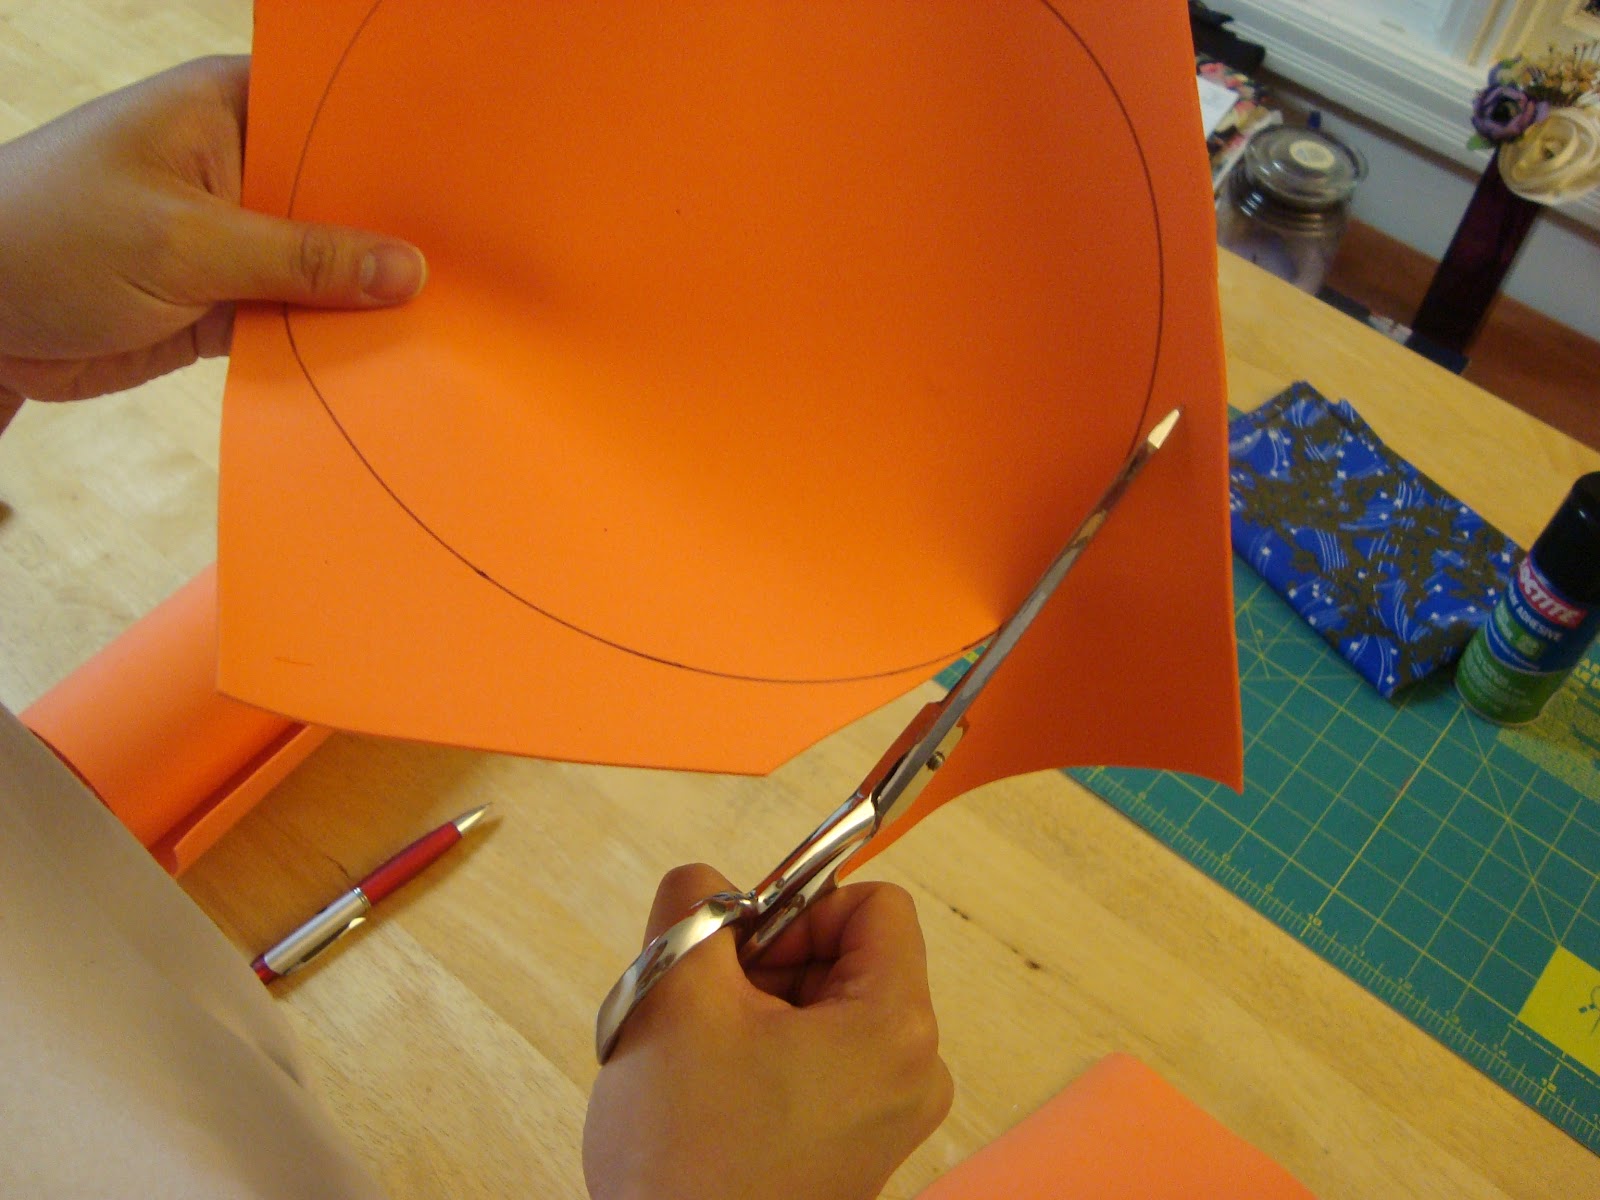
Cut on the fold of your foam so that you'll have two layers.

Trace on the second layer of foam.

Cut out both shapes.

Go to a well ventilated area or outside and spray one side of ONE of the foam shapes and carefully align the other shape on top.
 |
| Both foam circles have already been stuck together. |
Grab a heavy book to press and flatten the foam while it dries. Nursing textbooks work fabulously.
 |
| I knew I'd find a use for these after nursing school. |
While waiting for these to dry, I lost track of time surfing the internet, eating organic poptarts, and watching this video. I would estimate about 30 mins to 1 hour. After it's dry, spray one side of the foam and put the scrap fabric on top.

Carefully smooth out any wrinkles or bumps with your hands.

Place your heavy book/object back on top and wait another 30 minutes to 1 hour to dry.

After it's finally dry, flip your fabric over so that the foam is showing and carefully trim away the fabric. Should look like this on the back side.


Wow! That's it! I used some vintage fabric of unknown content. I believe it is polyester. The edges don't seem to fray so I did not glue them down on the sides. This is a super easy way to use up scrap fabric you have lying around! Makes quick and simple gifts too!
Thanks for reading! If you have any questions or comments, please leave them below! :)
No comments:
Post a Comment